Tuesday, July 27, 2010

Cream Cheese Cookies!

Here in Virginia, we've been having crazy heat!   The entire house has been so hot, I haven't had much motivation to heat up the house even more by turning on the oven.  Curt and I are going to Boston and Maine to visit some friends, so I decided to bake some cookies to bring them.  Since we were going out of town, I didn't have much in the fridge.  I had a block of cream cheese and some butter, but no eggs, so I set out to find a recipe without eggs. 

After perusing my favorite website Allrecipes.com, I found a good recipe for Cream Cheese Snowball Cookies.  Here we go!

CREAM CHEESE COOKIES

* 1 cup confectioners' sugar
* 1/2 cup finely-chopped walnuts (optional)
* 1/2 cup vegetable shortening (such as Crisco®)
* 1/2 cup butter, softened
* 1/2 cup cream cheese, softened
* 1/2 cup white sugar
*1/2 teaspoon almond extract
* 1/2 teaspoon vanilla extract
*1 1/2 cups all-purpose flour


So, first things first.  I decided to double the recipe since I needed to make a bunch of cookies.  Plus, if I had just made 1 batch, I would have half a brick of cream cheese left and half a stick of shortening and would just be a big mess and that just wouldn't do!  


I threw the cream cheese, butter, and shortening in the stand mixer and let it whirl while I got the rest of the ingredients together. 

I added in the flour, sugar, vanilla, and almond extract.  The dough seemed too runny, so I wanted to thicken it up a bit.  Rather than just add more flour, I decided to get creative.

The original recipe called for the finished cookies to be rolled in powdered sugar and walnuts.  I thought that was a good idea, but it seemed too Christmasy... since it's July, I made a little change.


  I swapped almonds for the walnuts and toasted then in a dry pan.  When you toast any nut, the heat activates the oils, which gives the nuts a great flavor. 


Once the almonds were all nice and brown, I ground them up in my little mini food processor.  It just took a few minutes to turn the tan slivers into fine little almond crumbs.  YUM!


I added in the ground almonds to thicken up the dough a bit.  Luckily, it seemed to do the trick.  I then covered a cookie sheet with some aluminum foil and sprayed it with cooking spray. 


 Next, I rolled the dough into little cookie balls.  I wanted to make the cookies pretty small and bite sized, so the dough balls were pretty small.  I just rolled it between my hands and plopped them down on the cookie sheet about an  1 1/2 inch apart.


I stuck the cookies in the oven for about 8 minutes per batch.  The cookies looked adorable.  They had spread out a bit, and were slightly browned at the edges which is just the way I like them. 


The original recipe said that you should roll the cookies in a mixture of the ground walnuts and the powdered sugar.  I didn't really think it through when I started the cookies, so I tried making a chocolate mixture to roll the cookies in. 


They turned out to be pretty tasty, but they didn't look all that cute.  I decided to try them plain.


They were ok plain too.  I had a TON of cookies, so I took a few and brought them into the restaurant where I work.  They only lasted a few minutes before they were gobbled up.  I did decide to jazz the rest of them up with some frosting and sprinkles!


So these final little cookie bites were delicious!  The cookies themselves weren't all that sweet, so the icing added a nice bit of sugar and fun.  I think that I will definitely have to make these again!  Our friends loved them too!

Saturday, July 17, 2010

Lemon Garlic Chicken Thighs

What Went Wrong ?
Usually, I post recipes that I think went really well!  I post recipes that look pretty and taste yummy!  This recipe looked delicious and I really have no idea how it went so wrong!  Here's the story... you tell me what you think happened!
I have always seen recipes for delicious braised chicken thighs.  Everyone says they are delicious!  I've grilled them before, but never really used them in a braised dish.  I love the flavors and how tender chicken thighs are... the bones don't bother me like they bother some people (ahem Jules).  I bought a huge pack of chicken thighs from the store and figured I would find a great recipe.  I visited one of my favorite websites The Food Network and searched braised chicken thighs.  Up popped Emeril's recipe for

The picture looks delicious, doesn't it?!  I love garlic and I love chicken, so I thought, "what the heck... I'll give it a go!"  Now, mind you, I'm not knocking Emeril's recipe.  I'm sure it's an absolutely fabulous recipe that many people love.  It received 4 out of 5 stars on Food Network's ratings.  I'm sure that it was all me that messed it up!

Here's Emeril's recipe

LEMON-GARLIC CHICKEN THIGHS

* 8 chicken thighs with bones and skin, about 3 1/2 pounds
* 1 3/4 teaspoons salt
* 1 teaspoon freshly ground black pepper
* 1/2 cup all-purpose flour
* 1/4 cup olive oil
* 3 cups thinly sliced onions
* 30 cloves (about 2 heads) garlic, peeled and smashed
* 1/2 teaspoon crushed red pepper
* 1 bay leaf
* 1/2 cup freshly squeezed lemon juice
* 1 1/2 cups chicken broth
* 1 pound angel hair pasta
* 3 tablespoons chopped fresh parsley leaves, plus more for garnish
* 3 tablespoons unsalted butter


 Because this was a recipe that I was trying to actually follow, rather than tweak too much, I did what Emeril told me to do (for the most part).  I pulled the chicken out of the package and seasoned it with a bit of salt and pepper.  Next, I set up a small bowl with some flour, then, one by one, dipped the chicken in the flour to give it a nice, light coating.  Next, I heated up a bit of oil in the bottom of a frying pan. Using only a few thighs at a time, I gently placed them in the pan to brown.  The crackling and popping of the chicken in the oil was great!  It looked beautiful, all crispy and brown.

(the popping and crackling of the chicken was music to my ears!)

  At this point, I seriously considered just cooking the chicken all the way and making fried chicken... but, I didn't.  I flipped them after a few minutes to let them brown on the other side, then placed them on a paper towel lined plate to dry off a bit.  Since I had a ton of chicken, this whole process took a while to go through. By the time I was done, I had beautifully browned chicken (on the outside at least, the insides were still raw). 


(so delicious!)
Once all of the chicken was beautifully browned, I started to work on the lemon-garlic sauce.  I added the sliced onions to the pan and started sauteeing. 


(sooo much garlic! Vampires beware)

 Meanwhile, I set to work chopping 30 cloves of garlic... talk about scaring away vampires! 30 cloves is a ton of garlic to chop! I am now seriously considering buying one of those new fangled contraptions that peels your garlic for you (any tips on what brand works, if at all?).  Anyway, I threw the garlic into the pan to start sauteeing too.


Next, I added in all of the spices- the red pepper flakes, salt, and bay leaf.  Make sure to scrape up all of the browned bits from the bottom of the pan because that's where all of the yummy flavors are trapped!  Now, I said that I wasn't going to change the recipe too much, but I did have a bunch of green beans. I decide to add those to the pan too.  I'm not sure if this was my downfall, but I didn't think it would have been a bit deal to add.  After that, I added in the lemon juice and the chicken broth. 


I don't have an actual braising pan.  You're supposed to make the whole thing in a braising pot, then add the chicken thighs, bring the liquids to a simmer, then cover it and bake it in the oven.  Since I had to improvise, I brought all of the liquids to a simmer, then transferred it to a baking dish.  Then, I added in the chicken thighs, covered it tightly with aluminum foil, and stuck it in the oven at 350. 

(looks good, doesn't it?)

I did also slice up some lemons into little wheels and threw those in there too. I thought they looked really pretty.  Maybe the rind of the lemon was the problem...

Anyway, after 20 minutes, I took the aluminum foil off the chicken and let the dish cook for an additional 15 minutes.  I also boiled some angel hair pasta to serve with the chicken.  I thought this would be yummy. 

(looked better than it tasted)

The whole dish looked absolutely delicious.  The chicken was tender and it looked great.  Unfortunately, the taste was awful.  It tasted like a bad mix of some type of bitterness and sourness.  I'm really not sure what happened or why.  It could be because I added in green beans, or maybe because I added the lemon rind, or maybe because I didn't have a real braising dish.  I have no idea.  I tried to pass it off to Curt like there wasn't anything wrong with it, but even he agreed that the taste was off somehow.  I didn't want to throw it all out, but I didn't like the taste.  I ended up throwing away everything, but the chicken.  I just somehow wiped everything off the chicken and was able to get rid of most of the bitter/sour.  I ended up just putting the chicken on the pasta, adding a bit of garlic salt and butter, then putting it all together.  It wasn't half bad... not idea, but it was better than wasting everything!

Monday, July 5, 2010

Shrimp Tacos Ole!

I'm a teacher and it's SuMmEr BrEaK ! ! ! This means all sorts of fun things... no more waking up early... no more 45 minute drive to school... more time to lay by the pool... and more time to cook! I've got lots of experimenting to do this summer.


This past week, I decided to make some SHRIMP TACOS.  I love tacos with beef, chicken, pork, and even fish, but I wanted to try something a bit lighter.  I had bought some avocados and a mango and was really craving some mango salsa.  I had also seen Paula Dean make some coconut mango rice and thought that it sounded great, so I needed a dish that would go with both of those sides... so shrimp tacos it was!


I didn't use any sort of recipe, just threw in whatever I had in the house.  Here are some of the ingredients for shrimp tacos, mango salsa, coconut mango rice, and black beans with corn: 
You'll need:

* 2 fresh ears of corn
* 1/2 lb shrimp
* 1 small red onion
* corn tortillas
*1 mango
* 1 avocado
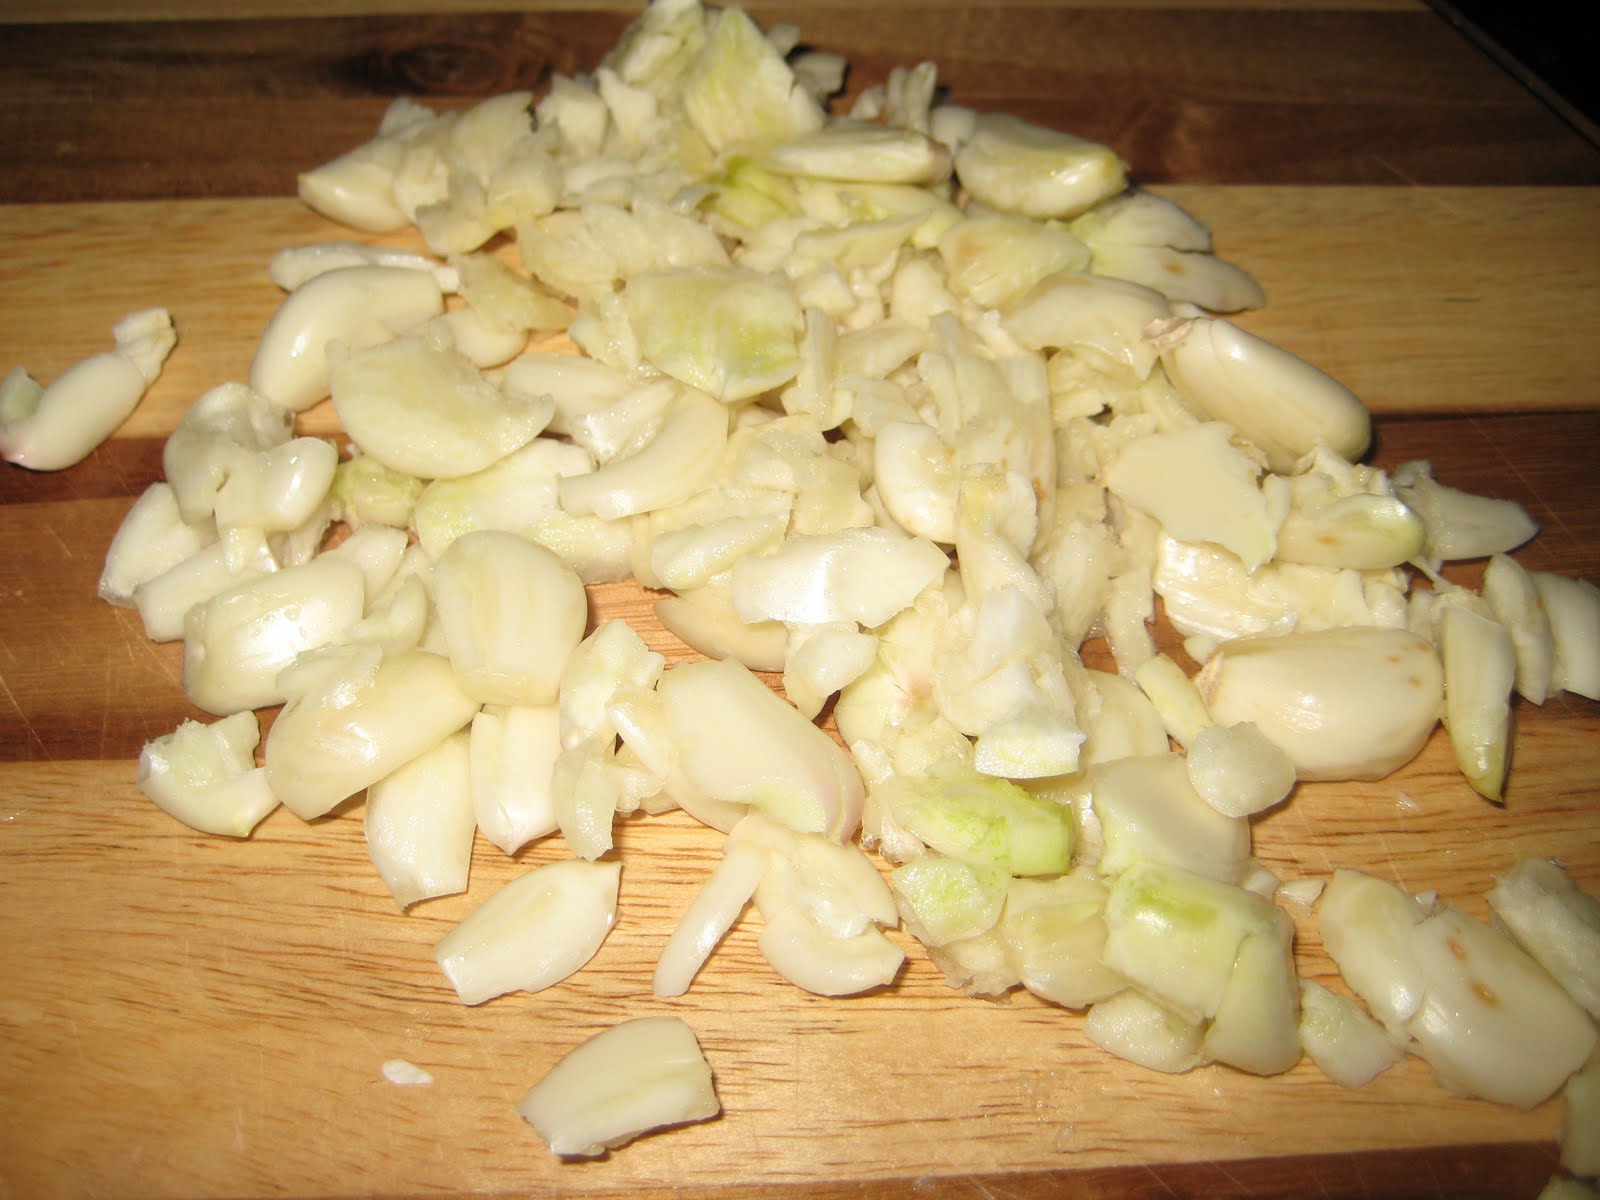
* 3 cloves of garlic, minced
* 2 limes
* 1 jalapeno
* 1 can black beans
* 1 can coconut milk
* 1/4 cup tequila
* 3/4 cup brown rice


(Here's the soupy mix that went into the rice cooker)

I was watching TV the other day, and I saw Paula Dean and her son make this coconut mango rice.  It looked delicious!  I love rice and mango and coconut, so it would probably be amazing all thrown together right?!  Here's the recipe from the Food Network Website.  Mango Coconut Rice.   I didn't want to make a whole batch of it, so I cut the recipe in half.  Also, I have a rice cooker, so rather than cooking it all on the stove, I threw everything (3/4 cup brown rice, 1/2 diced mango, 1/2 can coconut milk, and 1/3 cup water) in the rice cooker and hit "GO."  Since rice takes the longest to cook, I started it immediately and got on with cooking the rest of the meal. 

(Here's what it looked like when the timer went off!)


Next up, was the corn and black bean side dish thingey.  I was thinking that a corn and black bean salsa would be good... the only problem is that neither Curt nor I really like tomatoes, which is usually a main ingredient in salsa.  Also, I had fresh corn, not the frozen stuff which is usually what's used to make a corn salsa.  I needed to improvise!

I cut the kernels off the 2 ears of corn.  They looked pretty, but they were raw... I didn't really know what I should do, but I did know that I should cook them.  So... I threw them in a pan with some butter and garlic powder.  I figured I'd let them start cooking and figure out what to do with it after. 

(look at those big chunks of jalapeno!)

As the corn cooked, I realized that having cold black beans and warm corn were probably going to taste weird together, so I just threw in the can of rinsed black beans.  I added some oil so the whole mess of stuff wouldn't dry out.  I think I may have added some water too.  Also, to give it a bit more flavor, I sprinkled in some dried cilantro leaves I had floating around in the spice drawer.  I also threw in some big chunks of the chopped jalapeno.  The plan was to just let the flavors infuse the dish, then pull the peppers out... but I left the peppers in there.  Curt usually just picks out anything resembling a green bit of vegetable, so I assumed he'd do it this time and I could save a step... unfortunately, I was upstairs on the computer when I heard him start rapidly sucking in breath... he had eaten a big piece rather than pick it out.  Of all the times to start eating everything on his plate and stop picking out the green!

Next up, MANGO SALSA!!!

(mango, red onion, and jalapenos)

I love mangoes and I didn't really start loving avocado until a few years ago.  Together, they are absolutely delicious!  It's the perfect way to add a little jazz to your food, but in a healthy way! 

I took some red onion, the whole avocado, the other half of the mango (remember the 1st half went into the rice), and some jalapeno.  I diced everything into tiny little chunks.  The jalapeno and onion, I pretty much minced into microscopic pieces. 

I threw everything into a nice little bowl and mixed it up with a wooden spoon.  Be careful when mixing everything together so you don't mush up the avocado or mango and turn it into guacamole.  After everything was pretty well mixed, I squeezed the juice of 1 lime into the dish.  This really helped to combine the flavors and brighten up the dish.  I added a bit of garlic salt, but overall, the dish was super easy and super delicious!  I covered the mix and threw it in the refrigerator to chill.


(delicioso)

Finally, it's time for the Shrimp!  I, personally, think that shrimp is delicious no matter how you cook it... but for the tacos, I did want to add some flavor, rather than just saute them in a bit of butter.  Then, it came to me!  Tequila!  We had a HUGE handle of Jose Quervo left over from our wedding (yes, we did have a bit of liquor left!)  

I decided to make a tequila lime shrimp to stuff in the tacos.  In a pan, I melted some butter and  added the garlic. Once the butter was melted and the garlic started smelling good, I added in the juice of the other lime and 1/4 cup of tequila.  At first, it smelled REALLY strong!  I've never been a huge fan of tequila, but figured it seemed like a good way to cook shrimp for a Mexican dish.  After a few minutes, the tequila all cooked off, and all that was left was a delicious smelling butter lime sauce.  I tossed the shrimp in and gave them each a flip after they started turning pink. 


The shrimp seemed to really pick up the flavors of the sauce and they cooked quickly.  I poured the contents of the pan onto a plate and cut up the shrimp into little bite sized chunks.  After cutting them, I let them sit in the sauce to soak up as much as possible.   Once the shrimp was done, it was time to feast!

I used a corn tortilla because I really like the flavor and texture of the corn tortilla with the shrimp... also, I had corn tortillas, not flour!  I added some of the mango salsa to the tortilla then added a decent amount of the shrimp.  Then, I added a few scoops of beans and corn and a few more scoops of rice!

(Beautiful, huh?)


Overall, the tacos were delicious!  Curt and I finished the entire amount of shrimp and most of the mango salsa.  I ate the rest of it the next day with some tortilla chips.  We had tons of the beans and corn left over.  I ended up seasoning some chicken breasts with some mexican type spices, then just cooking them in a bit of oil.  Then I put them in a tupperware, covered them with some shredded cheese, and topped them with the rest of the corn/bean mixture.  When Curt heated them up at work, the cheese melted and the had a nice little Mexican style chicken!  Anyway, we were able to put the leftovers to use which is always a good thing!   

About the rice... ugh... I LOVE rice... this... not so much.  The mango cooked a lot, so it was pretty mushy.  Its taste and texture reminded me of baby food.  Mango aside, the rice cooked in the coconut milk was OK, but it wasn't anything great.  I would have preferred rice-a-roni or something similar.  I don't think I'm going to make the recipe again, but maybe you'll like it!  Paula Dean sure seemed to!