Thursday, November 25, 2010

Hot Dates :)

Thanksgiving is probably my favorite holiday.  It's a time for fun and friends and family and food!  This year, Curt and I are down in Myrtle Beach, South Carolina, taking a nice little vacation.  I must say that it is somewhat weird to have the sliding door open and watching kids swim, yes swim, in the ocean when I'm  used to sweaters and fireplaces!  Anyway, we are just doing a small Thanksgiving dinner with Curt's aunt and uncle, so it didn't make sense to really have a full turkey.  Instead, I made individual beef wellingtons (a posting will follow!).  For an appetizer, we had some goat cheese and crackers.  Since I had a ton of goat cheese, I made these awesome little appetizers: hot dates!  There was no real recipe, I just made stuff up... and I think the name is kinda cute, don't you? My good friend, Pam, had these AWESOME appetizers at her rehearsal dinner.  They were bacon wrapped dates and they were delicious.  I decided copy that idea but throw in some goat cheese!

Hot Dates


Blogspot is being dumb and uploading my pictures sideways... I'll fix them later!

* 12 large dates
* 4 oz goat cheese
* 6 slices of bacon


You can often find these yummy dates stuffed with cream cheese or rolled in coconut... talk about a delcious treat!  If you just roll them in some unsweetened coconut, it makes for a yummy paleo treat!


The dates I bought still had the seeds in them, so of course, no one wants to bite down into a seed. First, I took each date and cut a slit through the length of it. I pried it open and pulled the little seed out. This part got a bit annoying because the dates were sticky and I really am not a fan of sticky things. I went through a bunch of different paper towels wiping my hands clean after removing each seed!


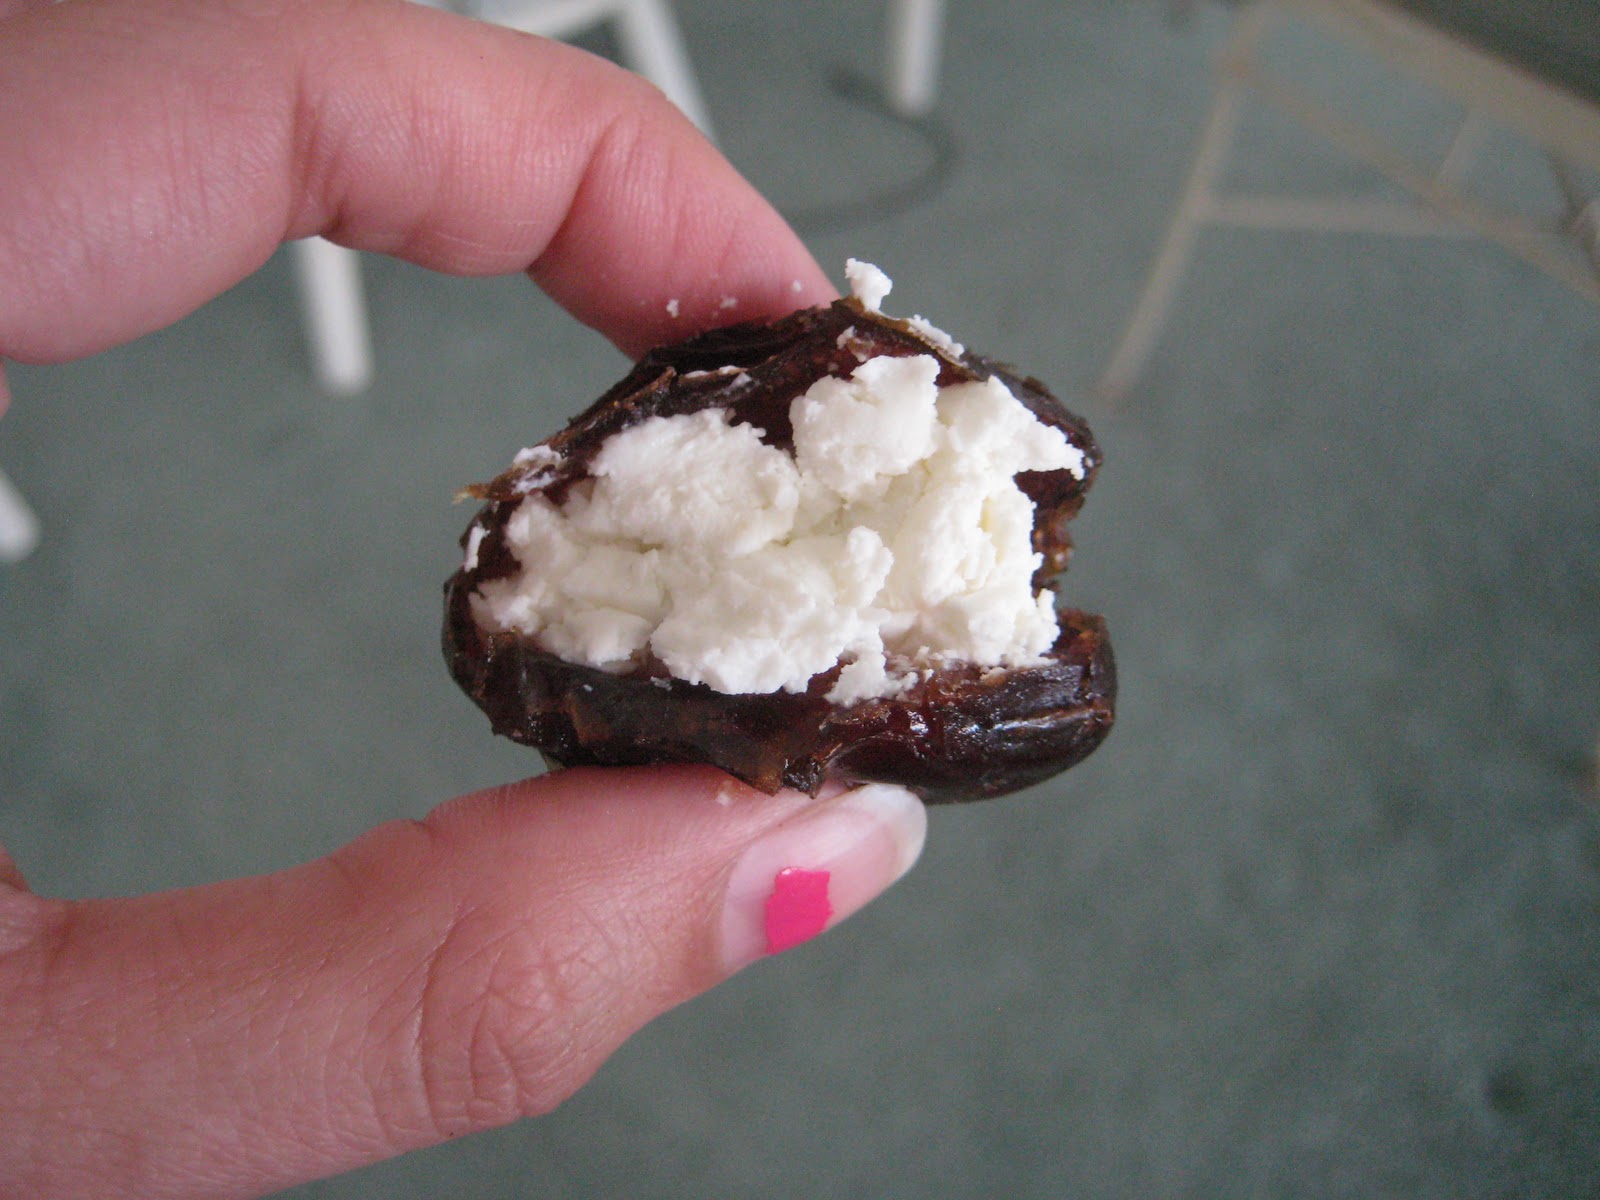
After the seeds were removed, the date has a nice little cavity that you can stuff with the goat cheese. The space was big, but I wanted to stuff a LOT of goat cheese inside, so I kinda squished the sides of the dates open a bit more so that there was more room to add in the stuffing.


Now that there was plenty of room, I scooped out a bit of goat cheese and stuffed it inside the little date. Then, I sort of reformed the date into an oval shape, pinching the top together. The date had the consistency of something like silly putty, so it was really easy to form.


Next, I cut the slices of bacon in half and separated them. I then took one half of a slice and wrapped it around the stuffed date. The bacon was long enough (even though it was cut in half) that it completely wrapped around the whole date. I then placed it seam side down in a baking dish. I finished wrapping them all up and stuck them in the oven.


I let the little suckers bake for about 30 minutes at 350. After 30 minutes, the bacon was cooked, but I like crispy bacon! Sooo, I set the oven on broil for a few minutes and let the bacon crisp up. If you do this, though, make sure you watch it like a hawk, because if you're anything like me, it will burn before you even get a chance to look at it.


I pulled them out of the oven and let them cool.  They smelled delicious, but I didn't feel like burning all of my tastebuds off in one eager bite.  I let them rest, then tried them.  They turned out very well!  I'm definitely going to have to make these again.  I know that Curt liked them because he said, "Honey, I usually don't like weird food but I like these."  By weird food, I'm assuming he meant that dates aren't usually a part of our daily mealplan.  Anyway, these were tasty little bites and abso-freakin-lutely easy!


Sunday, November 21, 2010

Punkin Soup

Last weekend, the Jobies had a soup and salad lunch.  Of course, I volunteered to bring some soup.  I originally planned on bringing a clam chowder or something like that, but then I figured that I should at least try to make something Paleo.  One of the teachers I work with mentioned that her mother in law always made pumpkin soup on the weekends.  I figured that with Thanksgiving coming up, it may be a good idea to try.  I usually don't like soups that are pumpkiny or squashy (butternut squash) but I found a recipe that had a lot of great reviews.  Also, if I didn't like it, I could always give it away! Hey, I wasn't going to be eating most of it anyway, right?

I did some searching and found a Rachel Ray recipe.  This really suprised me because I don't usually make her recipes, but recently, I've found a couple of good ones that I posted about: Tuscan Style Chicken and Zuppa Osso Bucco.  Anyway, this recipe turned out surprisingly well! Here's my take on:

 
Pumpkin Soup 
with
Chili Cran-Apple Relish


Soup:


* 1 tablespoon extra-virgin olive oil
* 2 tablespoons butter
* 1 fresh bay leaf
* 2 ribs celery, chopped
* 1 medium yellow onion, chopped
* Salt & pepper
* 3 tablespoons Coconut Flour
* 2 teaspoons ground thyme
* 6 cups chicken stock
* 1 (28-ounce) can cooked pumpkin puree
* 2 cups heavy cream
* 1/2 teaspoon freshly grated nutmeg

Relish:

* 1 Granny Smith apple, finely chopped
* 1/4 red onion, finely chopped
* 2 tablespoons lemon juice
*1/2 cup dried cranberries, chopped
* 1 teaspoon chili powder
* 2 teaspoons honey 
* 1/2 teaspoon ground cinnamon


First, I chopped up my onion and celery.  The recipe said to finely chop everything, however, I have the luxury of an immersion blender. :)  I decided to just keep everything in a rough chop and then puree everything later.  So, anyway, I chopped away and added the celery and onion to a stockpot with the olive oil.


I cooked the onion and celery on medium high heat until  everything was tender and smelling yummy.  The original recipe said to add in flour to the veggies to give them a coat and thicken up the soup.  However, flour is not paleo, so I switched it up and added in some coconut flour.  This is just unsweetened coconut dried up and ground to the consistency of flour.  So, I just added in the coconut flour instead of regular and also added in the thyme. 


I stirred everything so it would all be evenly coated with the flour.  It looked a little weird because the coconut flour isn't really white, it's more of a cream color.  Everything looked a little off, but whatever, the show must go on!


Next, I added in the chicken stock and stirred everything to make sure it was all evenly combined.  I used a whisk to stir everything so that there weren't any lumps and so that everything was mixed up.  This was the point where I pulled out the bay leaf and pureed everything with the immersion blender.  Once all of the onions and celery was turned to mush, I put the bay leaf back in.


 Next, I added in the pureed pumpkin.  I'm sure that those who are really hard core Martha Stewart wannabes could cut up a whole pumpkin and roast it and puree it, but I just used the regular old canned stuff!


Spoon by spoon, I added in the pumpkin puree and stirred it so that it was all incorporated well.  This helped to really thicken up the soup.  If you want it to thicken up a bit more, you can add some tapioca starch (I think that's pretty paleo, it's made from the cassava root). 


Next, I added in the heavy cream.  Dairy products are sort of a gray area when it comes to paleo, but I figured it wasn't too bad. So in it went!


After everything was mixed together, I adjusted the salt and pepper a little bit and let it simmer.  This gives the soup a chance to thicken up a bit more.  While the soup simmers, you can start making the cran apple relish to go on top.


First, you finely chop the apple and throw it in a bowl.  I peeled it first just to avoid the consistency of the peel.  I also chopped up the dried cranberries.  They are pretty small already, but I wanted them to be a bit smaller.  Then, I added all the rest of the ingredients and mixed away.  Just to be sure it was good, I took a taste of the relish and it was really yummy.  The chili pepper and cinnamon added a nice mix of sweet and spicy. 


So that was about it.  The soup was finished and it was time to taste test the soup that I didn't think would be very good.  But, to my surprise, it was delicious!


The soup had a really nice texture and the relish gave it a nice tangy bite.  I topped off the soup with just a little spoonful of the relish and mixed everything together.   I loved it!  I'm definitely going to have to add the recipe to my "favorite recipes" box and make it again!  Super excited to have a nice holiday soup that has lots of flavor and isn't super carby!


Sunday, November 14, 2010

Rosemary Cashews

People keep asking me if I'm eating anything since I'm on this "crazy diet."  Well, honestly, I've been eating a TON of food... not to the point where I'm stuffing myself, but I'm just eating when I'm hungry!  The best thing is that I'm not counting calories or tracking the grams of protein or even really worrying about how much I'm eating.  I'm just making sure that it is all healthy and yummy.   One of my favorite snacks is roasted nuts... almonds, macadamias, pecans, and ... CASHEWS!  Being a teacher, I can't always get away to make grab a piece of fruit or make a smoothie.  It's super easy, though, to grab a handful of roasted nuts and pop a few while I'm walking through the halls.

I found this recipe on an awesome website:  www.health-bent.com.  This couple creates healthy and yummy recipes.  I decided to give it a try, and now... I'm addicted!

Rosemary Roasted Cashews


* 1 1/2 c raw, unsalted cashews
* 2 Tbs honey
* 2 Tbs fresh rosemary, chopped
* 3 Tbs olive oil
* 1/4 tsp cayenne pepper
* 1/2 tsp salt


I didn't have a little honey bear, but my mother in law had given me this delicious buckwheat honey a while ago, so I used that.  You can see in the picture that it's this dark, molassas looking type of honey.  It's got a stronger flavor, but it's really really good!

Basically, this is the easiest recipe ever!  You throw all of the ingredients in a bowl and toss them together so there is an even coating on all of the cashews.


The first time I made this, I threw everything in a bowl and mixed, but it was hard to make sure everything had an even coating.  This last time, I mixed all of the ingredients except the cashews.  I then took a whisk and made sure that everything was well mixed, then I added in the cashews.  This time, everything was nice and evenly coated.


Next, I just lined a baking sheet with some aluminum foil and spread the coated cashews in an even layer.  


I must say that I did have help here.  I had a little helper bee buzzing around the kitchen to help in any way that she could.  (It was halloween, so she had to have her outfit on!)


Honestly, how cute is she?! Anyway, I popped the baking sheet in the oven, which was preheated to 350.  You just bake them until the cashews have browned, which was about 14 minutes.  You have to set a timer to make sure you don't forget about them!  Also, you'll want to check them about half way through.  Swoosh them up so that all of the sides can get nice and brown.


Then VIOLA!  Here you have delicious rosemary roasted cashews.  They are slightly sweet, slightly spicy, and VERY fragrant.  They were so addicting that I had to package them up and put them in my car (to take to work) so that I wouldn't eat the whole tray of them in 1 sitting!   Thanks for the recipe Brandon and Megan!!!

Tuesday, November 2, 2010

Pumpkin Donuts

Yeah, yeah, I know... donuts are NOT Paleo approved (don't shoot me, Anders)... however, I am a Daring Baker!  This means that each month, I, along with many other bloggers are given a challenge each month.  Then, we create the challenge recipe and then we post our successes or failures!  This month, we were asked to make donuts!  Now, normally, I don't even eat donuts, even before I started this whole Paleo thing.  However, the Jobies were having a bake sale, so I thought that this would be the perfect opportunity to complete the challenge, then get the donuts as far away from me as humanly possible!  I invited my friend Caroline from Cee in the Kitchen, who is also a Daring Baker, to make donuts with me!  So, we made the dough and heated up a big old pot of oil, and then made a TON of donuts... I must say, that for dinner, we did have a very healthy and Paleo friendly dinner of steamed and spiced shrimp!

Pumpkin Donuts


* 3 1/2 cups all purpose flour
* 4 teaspoons baking powder
* 1 teaspoon salt
* 1 teaspoon ground cinnamon
* 1/2 teaspoon ground ginger
* 1/2 teaspoon baking soda
* 1/4 teaspoon ground nutmeg
* 1/8 teaspoon ground cloves
* 1 cup sugar
* 3 tablespoons unsalted butter, room temperature
*1 large egg
* 2 large egg yolks
* 1 teaspoon vanilla extract
* 1/2 cup plus 1 tablespoon buttermilk
* 1 cup canned pure pumpkin
* Canola oil (for deep-frying)


Apple Cider Glaze

* 2 cups powdered sugar
*Apple Cider


First, I threw the flour, baking powder, salt, cinnamon, nutmeg, baking soda, ginger, and cloves in my stand mixer.  I sifted everything together to make sure that there weren't any lumps.  Now, I didn't read the recipe very well at all, because the original recipe called for me to do this in a totally different order.  I was supposed to mix the butter, sugar, eggs, etc, then add in the dry ingredients last, but hey, they all ended up being mixed together anyway, right?


 So anyway, once the dry ingredients were mixed, I added in the butter and sugar and started blending.  It didn't seem like a good consistency, but it was too late to turn back!  I added in the egg and the egg yolks as well as the vanilla, pumpkin, and buttermilk.  Then, I let the stand mixer do it's thing!  Unfortunately, the batter seemed REALLY runny, not at all like how I would imagine donut dough looking.


Alas, I had to move on.  The next step required the dough to be covered and chilled for 2 hours.  I stuck some saran wrap on the top of the dough, threw it in the fridge, and prayed that some miracle would happen and my donuts would magically turn into delicious donut dough.

When Caroline came over with her yeast raised donut dough, I started to get nervous.  Granted, mine didn't have yeast in it, but it looked TOTALLY different from her beautifully raised donut batter.  When she rolled out her donuts and placed them, ever so gently in the oil, they floated and turned a pretty shade of tan.  They looked exactly like you would picture a delicate little donut to look, see:


Now, Caroline claims that she was worried that her donut dough didn't look right, however, these crispy, yet airy little donuts turned out perfectly.  With that in mind, I had some hope that mine would make a comeback and be delicious!  I said a little prayer and pulled my dough out of the fridge so I could start rolling it out.


My dough still looked super sticky.  I didn't want it to stick to the counter, so I added a TON more flour.  I added a handful and kneaded, then another handful and kneaded, then another handful...  finally, the dough got to a point where it didn't stick to the counter anymore.  I rolled the dough out to a thickness of about a half inch and started in on the cutting.


I tried to take a picture that would convey how thick the dough was ha!


  Luckily, Caroline had brought over a round cookie cutter, thus saving me from using a drinking glass!


So, I cut and cut and cut, then I rolled the dough back together and kept on cutting until I had used up pretty much all of the dough.  I didn't want any to go to waste, so when I didn't have enough left to make too many round donuts, I just cut them into litte strips that would have been perfect for dunking in coffee.


Then, when the oil in my giant pasta pot had reached the temperature of 365. I started frying!  I was expecting my cute little donuts to delicately float in the oil like Caroline's did...


however, mine sunk... yep, they hit the oil and sunk straight to the bottom.  Did all of this happen because I messed up the order of my ingredients?  Would my donuts burn at the bottom of the pan?  Would all those hours of making donuts be a waste of time?  Would my first Daring Baker's Challenge be a flop? I held my breath and waited...


There's the one donut on the right that started to float, but there's one on the left that had sunk to the bottom!
After about a minute, my donuts started floating!  I guess they had cooked enough and they were ready to come to the surface! Phew!


Once the donuts started floating, I flipped them and let them cook until they reached a nice brownish color.  Then I repeated the process a TON of times...


Once they donuts were cooked, I set them on a cooling rack to drain the excess oil and cool.  It was tough not to just rip them off the cooling racks and tear into them... they smelled amazing with all of the spices.


I guess I rolled the dough thicker than normal, because some of the donuts were HUGE.  That's not something I'm really going to complain about though, who would do that? Complain about big donuts? Nah!  As they were beginning to cool, I started in on the icing.  I don't really like that thick cake like frosting on my donuts like some people do.  I prefer a light glaze with a little bit of flavor to just accent and enhance the taste.  Therefore, I made an apple cider glaze!   What better way to mix the flavors of fall, right?


I mixed the powdered sugar and a tiny little bit of apple cider in a dish and stirred away until it went from a lumpy mess to a smooth, pretty glaze.  Then, I tried dipping the donuts in the glaze, but found it was MUCH easier to just spoon the glaze over the top, then put it back on the cooling rack and let the extra glaze drip off.  The important thing to remember when making the glaze is to make it thick enough that it sticks to the donut and doesn't just run off the sides, then you waste it, and that would be a shame :(


So, here, we have the results of my first Daring Baker's Challenge! Beautiful Pumpkin Donuts!  Now, although I wanted to eat all of them, I didn't.  It's not really good for me at all to do that, and I wanted to sell as many as possible at the Jobie bake sale.  I did have one or two though. 
I mean, look how perfect that looks!

Here's what they looked like on the inside!

Delish!
So, bright and early on Saturday morning, (Caroline and I were up until a bit after 11 frying and glazing these suckers!) I got up, threw the donuts on a cute little plate then drove to the Bethel to get started on the bake sale.  Here's my beatiful plate of donuts: