Showing posts with label pork. Show all posts

Tuesday, June 19, 2012

Spinach and Goat Cheese Stuffed Pork Loin


Summer is here!  I feel like this year has really flown by.  I'm definitely going to miss my students, but I'm also looking forward to some time to relax, enjoy being preggers, and getting the house prepared for a little one to take over!  With the increase in free time, I'm also looking forward to trying out some new recipes and experimenting.  I've never been a huge fan of pork because if it isn't done correctly, it can be really dry.  I've found that by stuffing it, though, you can add lots of flavor and keep it very tender!  Here's one experiment that went well:

Spinach and Goat Cheese Stuffed Pork Loin  


* 1 boneless pork loin (3-5 lbs)
* 3/4 cup frozen chopped spinach
* 3/4 cup goat cheese (optional)
* 1 Tbs. dried oregano
* 1 tsp garlic powder
* 3 cloves garlic, minced
* 1/2 cup onion, diced
* 1 Tbs. butter/bacon fat


First, I wanted to start off by making the "stuffing." I used bacon grease as my fat to get the whole thing going.  I added in the onions and the garlic and sauteed them until they got nice and soft.  Then, I added in the spinach and let everything mix together.


While the "stuffing" was cooking, I butterflied the pork loin.  It wasn't too hard to do, but it allows you to really get an even layer of pork so it all cooks relatively evenly.  If you don't know how to do it,  Here's a video on how to butterfly a pork loin. 


So here's the pork loin after I butterflied it.  I also took a mallet and pounded it out a bit to make sure it as even as it could get.  I then sprinkled both sides with salt, pepper, and the garlic powder just to give it some flavor.


Next, I added the goat cheese.  Now, I know that cheese isn't paleo, however, I'm following Chris Kresser's The Healthy Baby Code and according to that, dairy is good :)  I just eat full fat, grass fed dairy.  If, however, you don't do well with dairy, then just skip this part.


Next, I put the spinach mixture layer right on top of the goat cheese.  It was starting to look good!


Very carefully, I rolled the pork loin up into a nice little oblong bundle.  After that, I tightly wrapped the whole thing in plastic wrap to help it keep its shape and let all the flavors meld together.  Also, I didn't have time to cook it that night, so I just let it sit overnight.   


The next night, I unwrapped the pork loin and tied it up. 


You probably don't need to do this step, but I did just because i didn't want to risk cooking the roast and have it all unravel, leaving a sloppy mess on the baking pan.


I had preheated the oven to 350, so when it was ready, I put the whole roast on a roasting pan.  You could probably just put it on a regular baking pan, but when you lift the roast up so the air can circulate underneath the roast, it cooks more evenly and you get a little color and crispness on the bottom too (which is something I like).


I baked it for about 45 minutes.  I wanted it to be cooked all the way through without being dry.


I let the whole thing rest for about 10 minutes so the juices would all redistribute.  Then, I took a nice, sharp knife (I just bought a great new set!! YAY!!!) and cut a few slices.


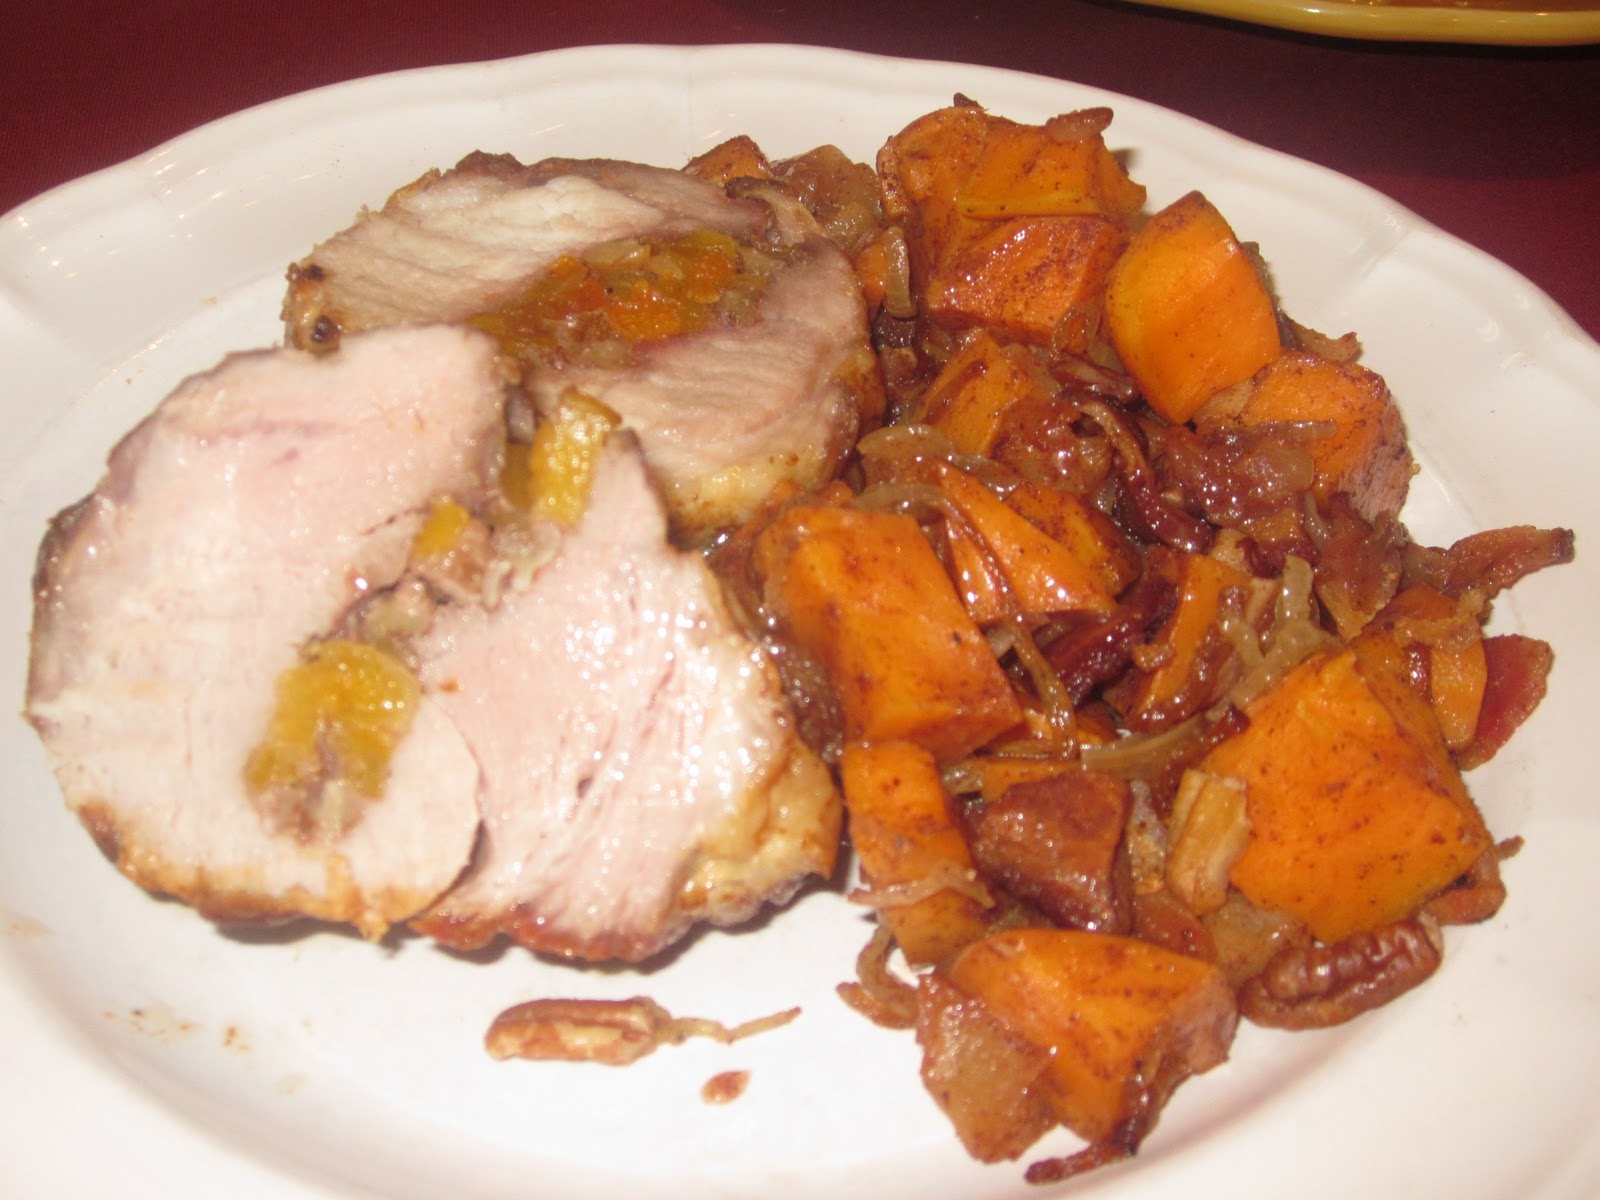
So here they are!  They looked so pretty and they tasted great too!  There was already a bit of spinach in them already, so I served them with some broccoli as a side.  The whole thing was yummy... it had flavor and wasn't dry.  It's definitely a keeper!  I also liked the technique because it kept everything tender and there are so many options!


Enjoy,


Jenn 

Friday, May 4, 2012

Paleo Triple Meat Meatloaf

So I've come to the realization that when little baby C comes, I'm probably not going to be able to stick with my Sunday routine of strolling around Whole Foods and farmers markets for hours (yes, I said hours - as sad as that is) figuring out what I'm going to cook for the week.  If I want to be supermom and continue making homemade meals, I'll have to be a bit smarter with my time.

With this in mind, I'm starting to use >gasp< grocery lists!  I figure out what I'm going to make, then write down the ingredients, then when I get to the grocery store, I just buy the things on that list! (Except the occasional splurge item for fun).  This past week, I rummaged through the freezer to see what I had... I found sweet Italian sausage and some ground beef.  I had made spaghetti squash with meat sauce last week, so I didn't want to do anything Italian... so... I decided to go all-American and make meatloaf!

Triple Meat Meatloaf

* 1 lb ground beef
* 1 lb Italian sausage
* 1 handful fresh parsley
* 4 cloves of garlic, minced
* 6 slices of bacon
* 1 yellow onion, diced
* 1 tbs Worcestershire sauce
* 1 egg
* 1 tbs mustard (I used stone ground)
* salt and pepper


First, I put the sausage and the ground beef in a bowl. I removed the casing from the sausage.  I used sweet Italian because that's what I had in the freezer, but use whatever you have!


Next, I just added in all the other ingredients, except the bacon.  I chopped the parsley up pretty finely.  I bought a huge bunch of it at the store, but saved the rest for other recipes.  If you still have extras, freeze them and save them for making chicken stock!


Next, I mixed everything by hand.  I'm sure you could use a spoon or fork or something if you're one of those people who doesn't like to touch raw meat.  Personally, I feel like I have a better sense of how well everything is combined if I can actually feel it.  Make sure everything is well combined, especially the egg.  The last thing you want when you bite into the meatloaf is one big bite of cooked egg!  Most meatloaves call for breadcrumbs soaked in milk or crumbled Ritz crackers or something like that.... the theory is that it keeps everything moist.  I find that it's completely unnecessary (and un-Paleo). 

Next, I formed the mixture into a "loaf."  It's kinda like playing with play doh.  You just keep patting and pushing at it until it is in the shape you like.  I formed it in a loaf and set it on a cooling rack, set inside a jelly roll pan.  Many people just throw the whole thing in a loaf pan, which is totally fine. I just wanted mine to cook all the way through and not sit in it's juices or become soggy.  Others may feel, though, that sitting in its juices will help add flavor... to each their own!


Next, I wrapped the whole stinkin thing in bacon... yup... bacon.  I've seen people do this before and I decided to do it because: I love the flavor of bacon and I had some. :)


So, after the whole thing is nicely wrapped, I just gave it one more pat down and threw it in the oven at 350. 


It didn't take too long to cook, relatively speaking.  It was in the oven for about an hour.  The bacon crisped up really nicely and also served as a little insulation to keep all of the yummy flavors in the meatloaf.  Like all meat, you want to let the meatloaf rest a bit so all of the juices don't run out. 


So here's the final product!  What is meatloaf without mashers?  Rather than mashed potatoes, I used mashed cauliflower.  It's super easy to make and tastes delicious!


I thought the meatloaf was very moist and flavorful.  I don't think anyone would notice the fact that there is no bread or anything in the meatloaf.  The only thing I think was missing was some ketchup!  I know, I know, ketchup isn't paleo, but having a tiny bit of ketchup every once in a while isn't the end of the world to me :) If you're truly a Paleo person, you could always make some Paleo ketchup on your own!

Enjoy,
Jenn

Sunday, April 8, 2012

Roasted Pork - Pernil al Horno

As you may have noticed, I've been a bit MIA recently.  Life has been super busy! I was taking 2 night grad school classes on top of working full time as a teacher.  Sooo, between taking classes and teaching classes, I've been super busy.  On top of that, Curt and I have some exciting news!  Our little family of 3 (two plus pup) is growing!  In October, we'll be welcoming in a new little bundle of joy.  Needless to say, being pregnant in my first trimester did not make any of the above any easier!

Luckily, I haven't had any morning sickness, but I did have a lot of food aversions.  I would make a big meal and be excited about it, but when it came time to eat the food... I just couldn't stomach it.  I tried to stay as
 paleo as possible, but at the same time,  I needed to eat.  A lot of my meals consisted of white rice and potatoes.  The more bland the food, the better.  With the first trimester behind me, I'm starting to feel better and hopefully go back to paleo as much as possible.

Anyway, today being Easter, we had some friends from church over for a big lunch/dinner.  I love having friends over... the more the merrier.  I was trying to figure out what to make.  Being preggers... I'm not supposed to eat red meat unless it's well done- I don't know about you, but I like my steaks medium rare.... I'd rather not have it be well done and taste like a hockey puck... sooo... steaks and burgers were out.  I found a nice 5 lb pork shoulder roast at Whole Foods and decided to figure out a recipe for that.  It turned out to be delicious and perfect for a group!  Here's the version of:

Pernil al Horno

Pernil is a Puerto Rican roasted pork marinated with vinegar and herbs and slowly roasted until it is oozing with flavors! I found this recipe here and pretty much followed it with only a few minor changes - I know, I know... I almost never do that :)


 * 1 boneless pork shoulder roast (Boston Butt) with skin on - mine was 5 lbs
* 6 fresh garlic cloves minced
* 1 handful of fresh oregano
* 1 tbs of Kosher salt for every lb of meat
* 1 tbs freshly ground black pepper
* 3 tbs of olive oil
* 2 tbs white wine vinegar


First, I minced the fresh oregano and the garlic.  I'm sure you could probably use dried oregano, but I think fresh is so much better.  It was pretty simple.  Just chop up everything until it is really as small as possible and mix it up together and chop them together.


Next, I put oregano and garlic in a bowl with the olive oil, salt, and pepper.  Here, you just mix it all up until it forms a sort of oily paste.


Next, you need to put the roast, fat side up, on a cutting board.  I scored the top of the meat so the marinade will reach further into the meat and really infuse the taste much better.  Scoring the fat also helps to make a crunchy crust on top.  Then, I rubbed the paste all over the pork.  Make sure you rub the marinade so it all gets into the cuts.  After that, I put the roast on a plate and wrapped it in plastic wrap.  It's supposed to marinade for at least 3 hours, but I marinated it overnight.


The next morning, I pulled the roast out and set it on a roasting rack over a baking sheet.  You have to wait 30 minutes while it comes to room temperature.  Because you want it to cook evenly, you don't want to put it in the oven cold.  While I waited, I went ahead and preheated the oven to 350.  Once it came to the right temperature, I threw it in the oven for 3 hours... yup... 3 hours!  If your roast is not exactly the same size, you can always use a meat thermometer to make sure it's cooked through to your liking.  Just make sure that the internal temperature is around 145.


It sounds like a long time, but it was definitely worth the wait!  While it was roasting, I could hear the sizzle of the juices dripping onto the baking sheet.  The whole house started smelling delicious!  The pernil came out looking amazing.  There was a nice crunchy crust on top.  Now here's the hard part.  Leave it alone for 10 minutes!  If you start cutting into it now, the juices will leak out everywhere and you'll lose a lot of moisture. 


After the agonizing 10 minutes, I started slicing the roast into nice slices.  I placed them on a serving platter so no one had to take the time to slice their own portion. 


The best part of the whole thing is that all of the yummy juices collected in the baking pan.  After the whole roast was sliced and nestled nicely on my serving tray, I poured all of the tasty juices over the pork slices.  This just added a bit of extra flavor and moisture.  Why waste it?!

Overall, this was a delicious meal!  It was very tasty and tender.  I was able to cut my slices with a butter knife.  Everyone seemed to like it too :)  I also have lots of leftovers, so I'm pretty excited about it.  The best part was that I was able to eat it... no food aversions... so our little baby peanut (that's what we call it) approves!


enjoy!

Jenn

Friday, February 3, 2012

Fig and Chile Glazed Pork Tenderloin

This past weekend, my friend Anne and I went to Chicama Run to pick up some more meat since Curt and I were running low!  In addition to buying a "Box of Beef," I happened to pick up some pork tenderloin!  I tend to stay away from pork tenderloin because it can be dry if you don't cook it right.  Also, I find that there are a lot of plain old boring pork tenderloin recipes.  I looked on my new favorite website, Pinterest, and found this recipe which looked amazing!  Here's the recipe!

Fig and Chile Glazed Pork Tenderloin


1/2 cup fig preserves
1/4 cup rice vinegar
1 tbs chile paste with garlic
 1 tbs soy sauce (or coconut amino/wheat free alternative)
1 tsp kosher salt, divided 2 (1-pound) pork tenderloins
1/2 teaspoon freshly ground black pepper  


So this was easy peasy!  First, just mix all of the ingredients ( fig preserves, rice vinegar, chile paste with garlic sauce, and soy sauce) in a small bowl.  I was able to find some fig preserves that were only fig and some pectin, so pretty much paleo :)  Also, for the soy sauce, you can either use the coconut amino things that is a soy sauce alternative or else at least go for a gluten free soy sauce! 


My mother in law had given me a tiny little wisk for Christmas one year and this was the perfect size for wisking all of the ingredients together!  I must admit that I was a little skeptical of this recipe, but I figured I'd give it a try.  I liked all of the ingredients individually, but I wasn't sure about how I would like them when all mixed together!


Next, I had to take the silverskin off the pork tenderloin.  The silverskin is the thin, white membrane along the pork tenderloin which connects it to the actual pork loin.  You don't want it for a few reasons.  First, it doesn't look pretty when you cook it.  Also, it is tough and chewy when it is cooked.  Chewy is great when you're describing gum... not so much when you're describing a pork tenderloin.  Anyway, you just take a short and sharp knife and make little cuts and pull it away from the tenderloin.  Make sure to be careful not to cut the meat itself!


So here's the lovely little pork tenderloin.  I took the salt and pepper and seasoned the tenderloin on all side.  This was a snap!  Meanwhile, heat up a skillet to very very hot!  I used an oven safe skillet so that I could just throw the whole thing into the oven afterwards.  That reminds me... heat the oven up to 350!


Next, you want to brown the pork tenderloin.  I did put a little bit of bacon fat into the pan to help the tenderloin brown a little bit.  You just want to brown the whole tenderloin.  You will cook it the rest of the way in the oven.  Caution - this browning may cause smoke in your house and may set off a fire alarm - mine is almost permanently disconnected!


Next, with the tenderloin still in the pan, I spooned the fig mixture over the tenderloin.  I put almost all of the mixture over the pork tenderloin.  Then, I put the whole thing in the oven.


Since my pork tenderloin was somewhat tiny, it really didn't take long at all to cook.  It was in there for about 15-20 minutes, depending on how well you like your pork cooked.  I trust the farm where mine came from and I don't like things dry, so mine was cooked about medium to medium wellish.


Next, I removed the pork tenderloin from the pan and set it on a plate to rest and let the juices settle down.  The last thing you want is to cut into it immediately and have all of the flavor run out everywhere.  While I was doing this, I set the pan back on the stove, over medium heat.  Make sure you don't burn your hand when you touch the pan... remember - it's been in the oven!!!  I thickened up the sauce a little bit and added a little pat of butter to finish it off.  I let everything get all mixed up nicely and whisked it together.


When the tenderloin had settled, I sliced it up and spooned the fig chile sauce over the top.  I have to tell you that this unlikely combination was amazing!!! It was sweet and spicy and salty and delicious!  I'm definitely making this one again!!!  Curt loved it too :)


Pure deliciousness!  I think I served mine with some broccoli or some other green... maybe asparagus? I don't remember... I do remember how good this recipe was though!

Enjoy!

         Jenn

Wednesday, December 14, 2011

Paleo Stuffed Pork Loin - Harvest Style

Normally, I'm not a fan of pork.  I feel like it tends to get really dry or not flavorful.  Recently, though, I've been making more pork recipes.  There are a lot of recipes that look really good, but use bread as a stuffing... corn bread, brioche bread, even wheat bread.... blah to bread!  I needed to find something else to add some body to the stuffing.  This is one concoction that I just kinda threw together.  I had made pork loin a few weeks ago stuffed with raisins and apples and it was surprisingly good.  This week, I decided to try it again, but this time, with different "stuffing" things.  I had some dried apricots and figured that I could find a few things to complement the flavor... and I did!

Paleo Harvest Stuffed Pork Loin


* 3 lb boneless pork loin roast
* 1/2 cup of dried apricots (no sugar added)
* 1/4 cup of natural apple cider (apples should be the only ingredient!)
* 1/4 cup of chopped pecans
* 3 cloves of garlic
* 1/2 tbs rosemary
* 1 tsp bacon fat/butter/etc


First, I tried to cut the pork so that it would lay flat.  I'd done it before where you go in a circle and get 1 nice long, flat piece of pork.  This time,  I didn't have the patience and just cut the whole thing down the middle to butterfly it.  I also seasoned the whole thing with some salt and pepper.

 I chopped the garlic and added it to a saute pan with some of the bacon grease and the rosemary.  I let it cook for a little bit to get a bit of the sharpness out of the flavors.  I wanted them to mellow out and just taste really good together.  I also used dried rosemary, so I didn't want the little leaves to be all spiky and stuff.


While the garlic and rosemary were cooking, I chopped up the apricots into nice little bite sized pieces.  I hate it when you bit into something and this HUGE chunk comes out.  So, anyway, I cut them up and threw them into the pan to warm through.


After that, I added in the apple cider.  I'm not sure why I added it in there.  I just had some in the fridge and thought, what the heck, why not?!  So anyway, it did help to soften up the apricots and the pecans.  It also helped all of the flavors to really blend together.   I cooked it all, stirring continuously, until most of the apple cider had evaporated or had soaked into the other ingredients.  I then took it off the stove and let it cool until it was a good temperature for me to handle it.


I then placed all of the stuffing  in the middle of the pork loin.  I wanted to make sure it was spread evenly so that there was a lot of flavor in every bite.  No one wants to be stuck with that one end piece that doesn't have anything fun in it, right?!


Then, I folded the pork back up into its original round shape and I tied it up with some kitchen twine (which I have since misplaced and have gone CRAZY tearing up the kitchen looking for it!!!).  There are videos on youtube on how to tie up a roast.  Really, any way you can get it to stay together is good!  You really just don't want to throw it in the oven and have it open up so the stuffing can spill everywhere.  The stuffing adds so much flavor and makes it tender. 
 I threw it into the oven at 375 for about 45 minutes.  You want to keep an eye on it because the last thing you want is to burn it!  They've recently said that you can eat pork medium now (you don't have to cook it well done throughout like you used to).  So really, just cook it to your desired amount of doneness.  Just make sure that you let the roast rest for about 10 minutes when it comes out of the oven.  You want to give it time for the juices to redistribute.  The last thing you want is to cut it immediately and have all of the yummy flavor to slip out... that will cause you to lose flavor and also make it more dry.


Here is the finished result! It was delicious!   I really liked it! I think the rosemary added a nice little kick to the sweetness of the apricots.  The pecans also added some good flavor!  This is a great dish which I will definitely be making again!


It's pictured here, served with a sweet potato and apple bake.  The recipe will be coming soon because it paired up sooooo well with the dish.  Of course, you can add any veggies that you like.  I tend to think of harvest flavors and orange veggies - squash, carrots, sweet potatoes.   Enjoy!